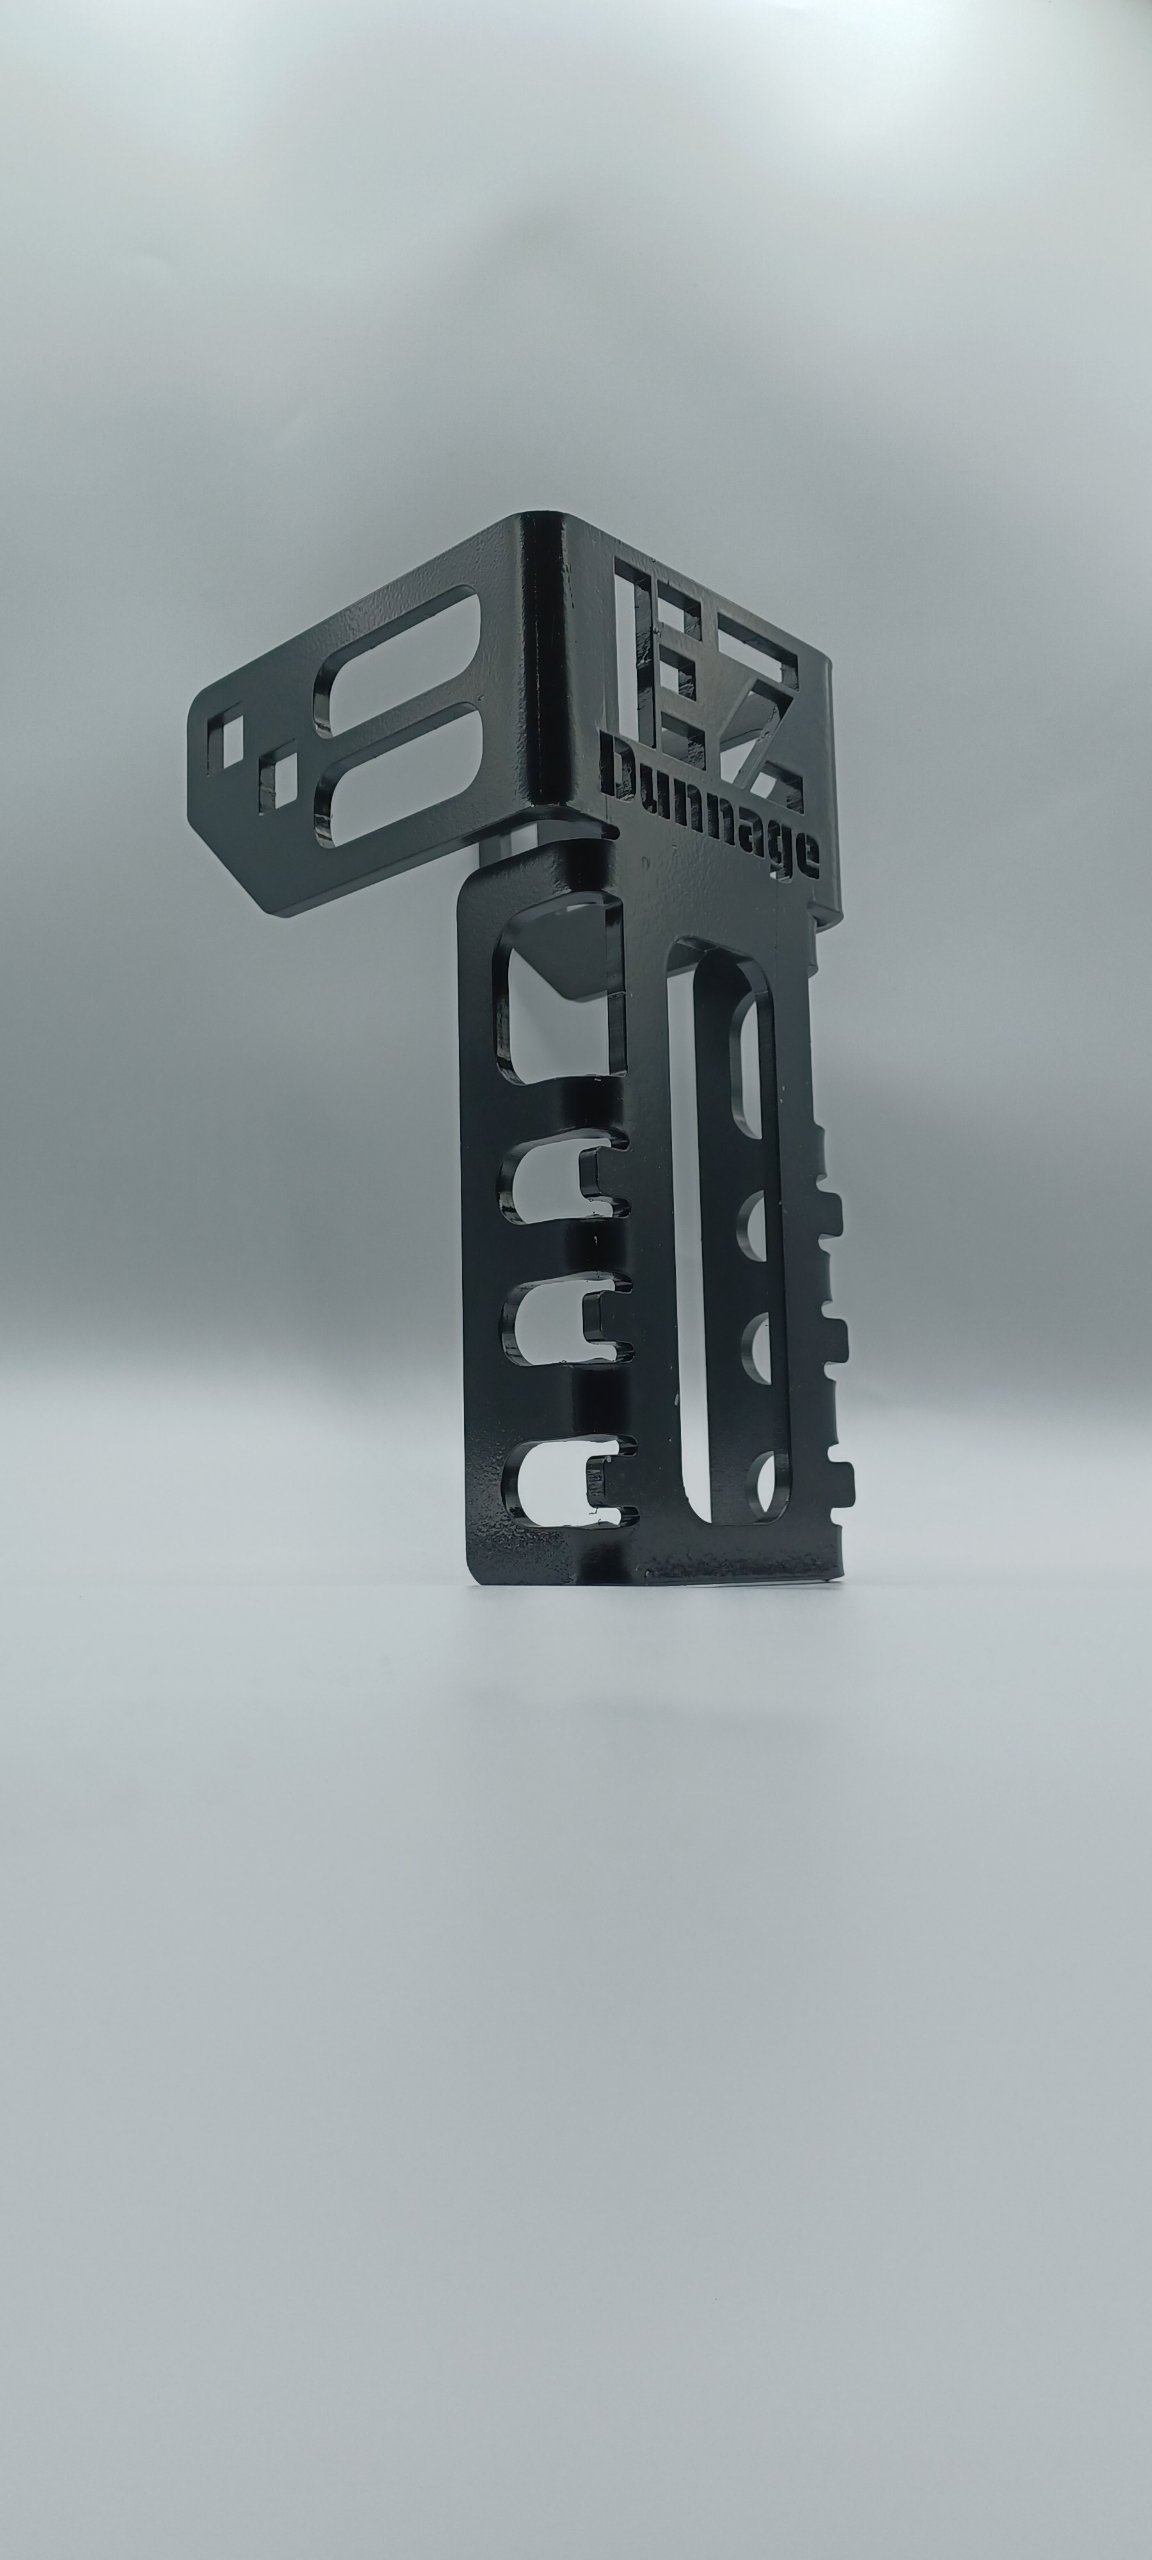
EZ Series
Installation Instructions
For any questions please call: 850-888-8539
EZ Series Instructions
Place the binders into your trailer pockets opposite from each other.
Place your 4x4 into the EZ Series. Make sure there is an equal amount of spacing.
With a black marker, mark the holes to be drilled on either side of the dunnage. As you can see, we have offered 2 choices. The upper set of holes is for 4x4s and bigger. The second set which is placed lower, is for dunnage smaller than 4x4s. This will ensure the bolt is in, or close to the center of the wood.
Also mark the top of your dunnage. You will be flipping the dunnage several times during the drilling process. This will ensure the holes you drill will line up with your original measurements.
Take the wood out of the EZ Series and with a 9/16” or 5/8” Paddle Drill Bit begin drilling your holes.
We recommend using a Paddle Drill Bit because a regular wood drill bit tends to move around before biting into the wood.
!!!MAKE SURE!!! you drill only halfway through the wood on one side then flip it over and drill halfway through on the other, meeting the 2 holes in the middle. This will ensure a more accurate pass-through for the bolt to line up with both openings.
After drilling the holes, place the wood back into the EZ Series, with top marks facing up, push your bolts through. Now place the washer, lock washer and lock nut onto the bolts. Tighten the nuts until the lock washer is engaged. We recommend not over tightening, you want the EZ Series to be tight against the wood, but be able to move up and down and fold onto the wood itself for easier installation or storage.
Place the 5/8 Pins into the bottom of the units and secure with the cotter pins.
NOTE: EZ Series is ONLY to be placed in the pockets of your trailer. Anywhere else will result in the unit not working properly.
